Two players, infantry units only. Regular forces vs. regular forces.
Scenario played:
"A Few Blocks Of Hell", US Army in Fallujah, out of the FoF (Osprey) rulebook.
Optional
rules used for the scenario: "Juba" (a sniper for the Jihadists) and
"Raindancer" (a FO with medium mortars on call for the Army).
Forces:
Haymaker 1-1 (Squad Leader 1)
Haymaker 1-1-A and 1-1-B (two standard fire teams)
Haymaker 1-2 (Squad Leader 2)
Haymaker 1-2-A and 1-2-B (two more fire teams)
Raindancer (FO)
versus
Local Jihadists troops 1-5 (JD1 -JD5)
Syrian Street Fighters (SY1 and SY2)
"Juba"
with spotter (Sniper Team/ weapons team with SVD rifle ( not
suppressed), team starts hidden)
 |
| Table set up like indicated by the scenario (more or less) |
TURN 1: Initiative: US Army (as dictated by scenario)
1-1
merges with 1-1-B and they make a rapid move and decide to fire on JD1
once in final position. Using the method that works best, I moved the Squad
Leader figure along the path they will run. JD1 and JD2 want to react.
My
opponent declares that JD2 will react when the Army passes an open spot
on an intersection. Reaction Test failed, so the US boys reach
their destination, then the intended target JD1 declares it will react now.
Reaction Test failed, now the Army goes first in the firefight. The US
Army attacks.
One Jihadist gets
hit and and goes down. We rolled to find out who got hit, the
Leader goes down. With a casualty ("callous" was used to quicken things
little) the Jihadists take their Morale Test. They were retreating.
1-1-A makes a rapid move with JD5 trying to catch them in the open. Reaction Test fails.
1-2
(leader) and 1-2-A rapid move towards their mission objective. JD2
again tries to react and fails. "Juba" fires his sniper rifle but thank
god, he fails to do damage. I chose to use the chance and try to spot
the hidden sniper team, since he fired a weapon that is not
suppressed but I fail to turn that bonus into something useful and so I
move on, unable to find the location of the Sniper shooting at my boys.
TURN 2:1-1
and 1-1-B rapid move towards a corner of a house and want to fire onto
JD2. They'd like to react and fail (again). The fire of the Army
resulted in zero figures down and no suppression.
1-2, 1-2-A and 1-2-B as well as the FO (Raindancer) move towards their objectives by rapid movement and aren't seen by anyone.
JD1,
JD3, JD4 and Juba move to get into positions allowing to intercept the
Army on their march to the houses they are looking for.
And before I foret to mention it:
1-1-A und Raindancer together with 1-1-B declare to be on Overwatch now.
TURN 3 (now it is getting really interesting):Beginning
with turn 3 initiative can change according to the scenario. So, we
roll and guess what: the Jihadists actually beat me to it.
The local Jihadists JD1 fire on my advancing fire team and I fail to react in time, fire is exchanged and the RPG taking its toll on my Army soldiers. A rifleman was hit and went down. Making the Morale Test I fail and they withdraw to cover.
Raindancer
and fire team 1-2-B also react to JD1's intensions and win the reaction
test. With my opponent rolling a "1", the FOW card "Death Or Glory" was
drawn and played on JD7 (random). The fire onto the Jihadists resulted
into them being pinned.
They also lose their Leader, check Morale, fail and withdraw off the table! (no cover available).
JD4
was activated and moved with tactical speed into position to fire upon
1-1-A. My soldiers want to react and I fail the test with another
natural 1. Fog Of War turnes out to be "In Your Face" and grants me 3
extra victory points. Thanks a lot.
We exchange fire and my fire
team survives without a scratch due to bad die rolls on my mates' side.
My return fire kills a rifleman and they have to test Morale. They pass
and stand (but keep being suppressed until rallied).
Payback
time. 1-2 and team 1-2-A move tactically and fire upon JD4. The
Jihadists declare a reaction and I remind myself of the still placed
markers on some units that went on Overwatch. I roll the die and still fail.
Noooo!
So the reaction between Jihadists and my squad leader and
fire team 1-2-A follows. Another 1 rolled results in FOW "All Clear". I
had won the test so I finally open up on the JD4 squad. Three hits
scored, three guys down. The following Morale
test fails and the holy warriors retreat 11 inches into cover.
JD4 fails to rally but since they are in cover they just stay there.
I make my First Aid check on my downed Rifleman and have to find out the boy is dead :-(
1-2 and team 1-2-A on Overwatch.
TURN 4:The US keeps initiative.
1-1
and 1-1-B rapidly move (time is becoming an issue to reach the
objective). Since no one can trace a LOS onto them they just walk as I
please.
1-1-A however is seen after I activate them and so JD5
declares its reaction with fire. 1-1-A wins and JD5 receives four
figures being struck by incoming fire, gets pinned by the sheer volume of fire and yet is capable
to achieve a STAND on their Morale Test! The lonesome survivor shoots
back but of course that was to no effect.
1-2-B and the bored FO
(hadn't called in my arty yet) moved tactically and are seen by JD2 who
immediately react by fire. Since I declared units on overwatch last
turn, Squad Leader 1-2 and team 1-2-A open up and suppress JD2 with
their Leader being shot. They pass their Morale test and stay were they
are.
The Jihadists and all Syrian Street Fighters move with rapid speed into new positions to flank the Americans.
JD4 flees off table since they failed their Morale Test again.
TURN 5:
We
began the turn but decided that its impossible for the local insurgency
to stop the US to claim the houses on top of the scenario map. Even
with less victory points for not reaching it by turn 4, the Army would
have won with 18 points for killed Insurgents even without owning the
objective. The "In Your Face" card would have done the rest. So we
stopped it there.
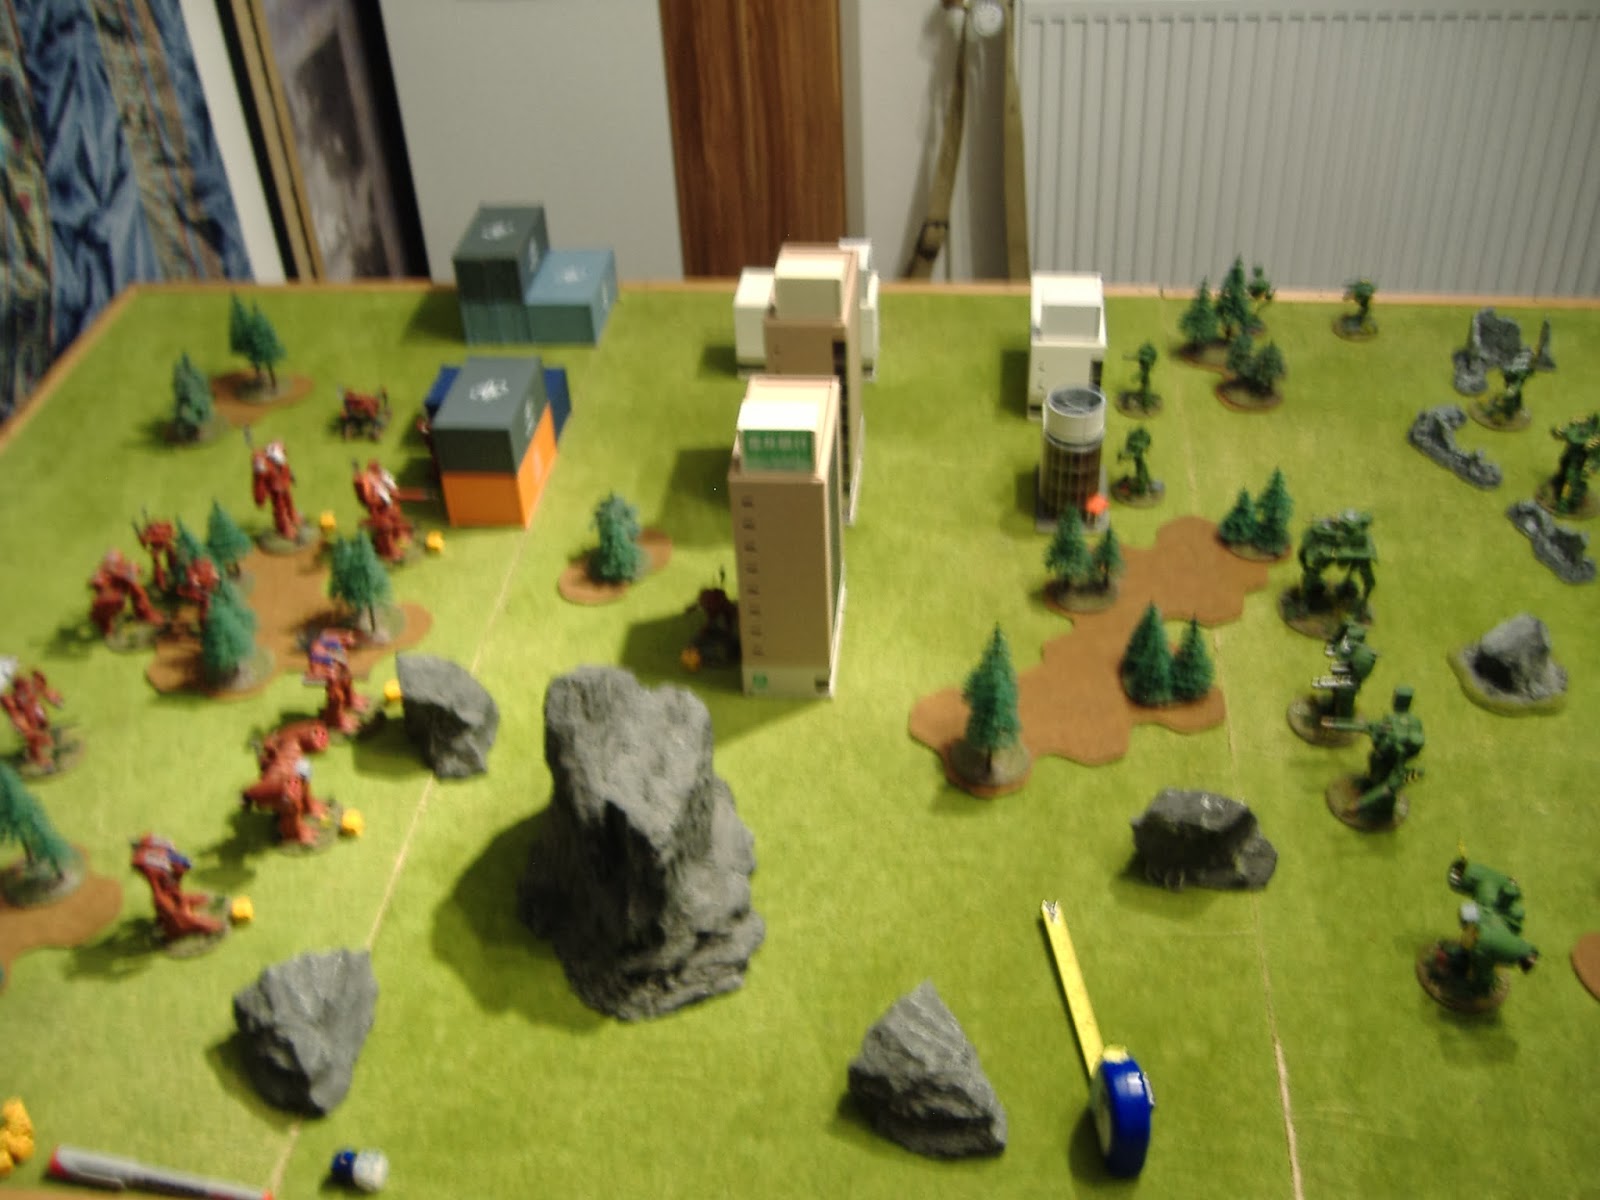
Its noteworthy that the text above is missing some very specific details, so don't be surprized if something seems not to make sense. Can't tell you why though (seriously, deal with it). The pics are from the game but not placed in between the write-up to display any events described, just some random images taken during the game, nothing else!